How to install OpenCV – Windows machines
Since 2012 when I first conducted an OpenCV project as part of my Bachelor’s dissertation at Keele, I have ended up having to install OpenCV about 4 times on various computers. Today is yet another occasion where the need for an installation of OpenCV has been necessitated but, because of the length of time between each install, I keep forgetting where to find the files and do the set up and what not. So I’m writing this post as an aide-memoire while I go through the installation this morning, so that next time I’ll have a tailor-made installation guide for install number 6…
Downloading the right version
When I started on OpenCV I was using 2.3.1 for my initial facial recognition tool for automated ID scanning. Last year I moved onto version 2.4.9, but as recently as this month, 2.4.12 was released. For some reason after 3.1.0. Presumably the version 3’s are still in beta at this stage. Anyhow, most of the versions are available at the link I’m about to provide below, so it’s up to you to decide which version you wish to use.
Download your chosen OpenCV build here.
Extract the archive
For this you need to make sure you have admin rights or someone with admin rights on standby. Once you’ve downloaded your chosen build, you need to unpack the archive. This is done automatically for you with the .exe file you’ve downloaded. You simply need to specify a location for where you wish to save the OpenCV files. Personally, I like to save a copy to the C Drive (C:/) because then it’s very easy to navigate to and remember where it is. But ultimately, you’re free to extract it to where-ever you see fit.
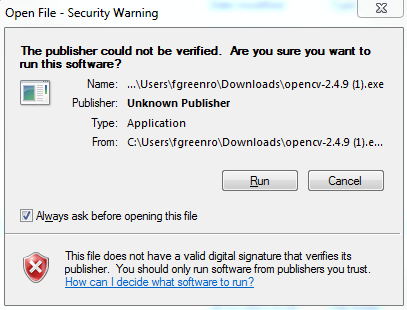
Run the downloaded exe file
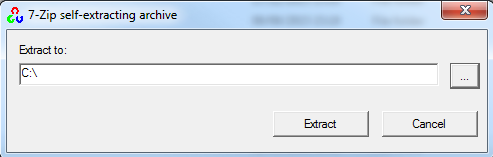
Choose a location for the archive to be extracted to
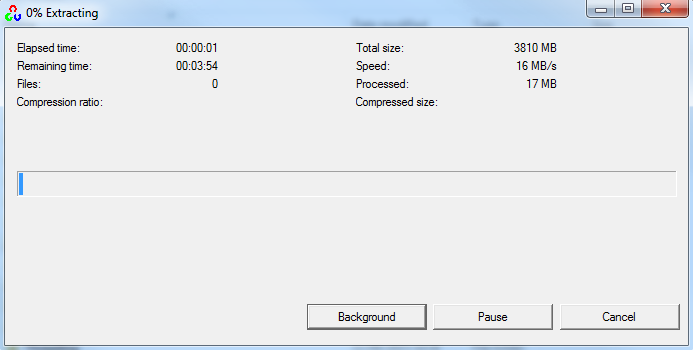
Let the extract run and do its thing
Once the extract has finished, the extractor will simply close. You can then confirm you have the OpenCV files successfully downloaded by checking the location you saved them to. You should see something similar to the below.

You should be able to see the above if the install has been successful
Set the environment variable
So the above is pretty simple and is usually straight forward. It’s this bit that I always forget the order of. To make the work easier when using OpenCV (particularly when using Visual Studio), we set an environment variable in the system PATH.
Start up a command window (cmd) (as an admin) and type in one of the following options (depending on which version of Visual Studio you’re running).
Visual Studio 2010
setx -m OPENCV_DIR C:\OpenCV\Build\x86\vc10 – (32 bit Windows)
setx -m OPENCV_DIR C:\OpenCV\Build\x64\vc10 – (64 bit Windows)
Visual Studio 2012
setx -m OPENCV_DIR C:\OpenCV\Build\x86\vc11 – (32 bit Windows)
setx -m OPENCV_DIR C:\OpenCV\Build\x64\vc11 – (64 bit Windows)
Note the location of the Build folders is the location of where you extracted the files – change this if you extracted to a different location than the C:/
Setting the PATH variable
If you build the static libraries then this step isn’t necessary but I tend not to and so we need to add the bin folder to the System PATH. This will allow us to use the OpenCV libraries in their DLL form.
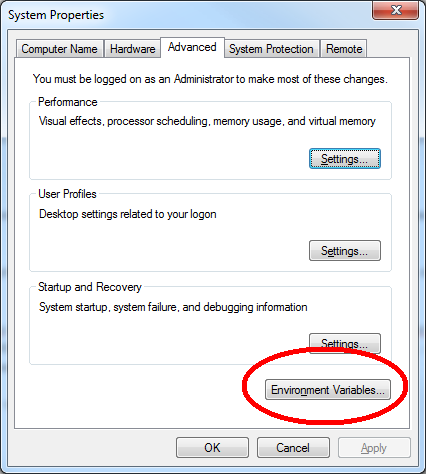
To edit the System PATH variable, go to the advanced system information options from the control panel, or search for “Path” in the start menu and select Edit the system environment variables (see below).

Search for ‘Path’ and choose the first option
If you chose the second option, or enter the window from the advanced system settings, then click on the Environment Variables… button on the bottom left of the screen.
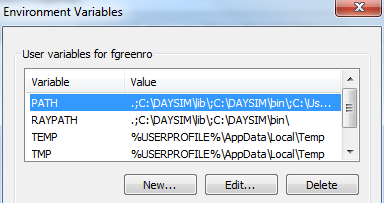
Edit this variable to add our link to the bin folders
Add the following to the end of the PATH variable:
%OPENCV_DIR%\bin
Remember to put a semicolon (;) in to separate it from the previous entry (if necessary).
Complete
That’s it, the installation of OpenCV is now complete and you can begin to work with the libraries to build fanciful computer vision projects. Of course there may be some additional set up needed to link everything in Visual Studio, but that’s a different kettle of fish.
About Author
FraserG
Computer Scientist currently undertaking an Engineering Doctorate degree discussing computing, programming, research and racing.